 James
James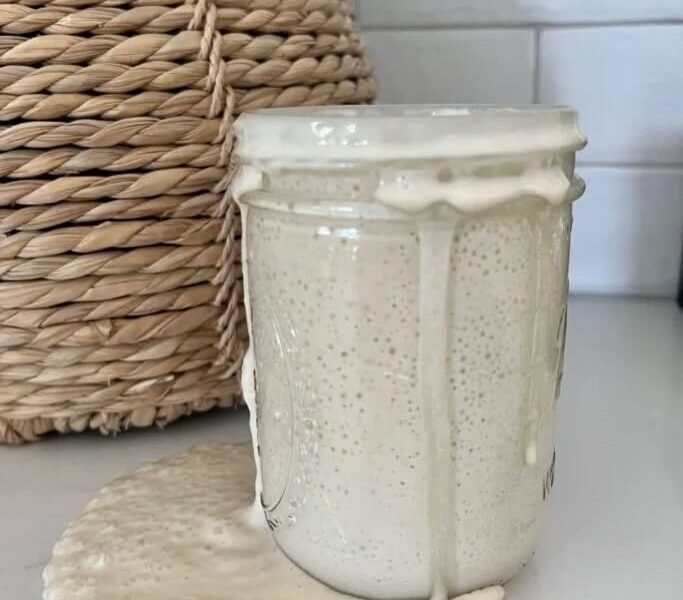
Yes, yeast can absolutely be added to sourdough dough. Many home bakers choose this method when they want the wonderful flavor of sourdough along with a faster, more dependable rise. The sourdough starter still provides rich flavor, a pleasant texture, and a beautiful crust, while a small amount of commercial yeast helps shorten fermentation time and creates a lighter loaf.
This style of bread works especially well for busy schedules, cooler kitchens, or anyone who wants consistent results. The finished loaf has a mild tang, soft crumb, crisp golden crust, and excellent slicing quality. It makes wonderful toast, sandwiches, garlic bread, grilled cheese, and bread for soup.
Preparation Time
- Preparation: 30 minutes
- First rise: 1½–2 hours
- Shaping: 20 minutes
- Second rise: 45–60 minutes
- Baking: 40–45 minutes
- Cooling: 2 hours
Ingredients
Dough
- 500 grams bread flour
- 100 grams active sourdough starter
- 320 grams warm water
- 7 grams instant yeast
- 10 grams fine sea salt
- 15 grams honey
- 15 grams olive oil
For Dusting
- Rice flour
- Bread flour
Optional Toppings
- Sesame seeds
- Rolled oats
- Poppy seeds
- Pumpkin seeds
- Sunflower seeds
Equipment
- Large mixing bowl
- Digital kitchen scale
- Dough scraper
- Banneton basket or bowl lined with a clean towel
- Dutch oven or baking stone
- Sharp bread lame or razor
- Cooling rack
- Mixing spoon
- Kitchen towel
Step 1: Prepare the Ingredients
Measure every ingredient carefully before starting. Keep the water warm but not hot. Feed the sourdough starter several hours before mixing until bubbly and active.
Step 2: Combine the Wet Ingredients
Place the warm water into the mixing bowl.
Add the active sourdough starter.
Pour the honey into the bowl.
Add the olive oil.
Stir until everything becomes smooth.
Step 3: Add the Yeast
Sprinkle the instant yeast over the liquid mixture.
Stir gently until dissolved.
Allow the mixture to rest for about five minutes.
Small bubbles may begin forming across the surface.
Step 4: Add the Flour
Gradually add the bread flour.
Mix until every dry portion becomes hydrated.
Continue mixing until a rough dough forms.
Step 5: Add the Salt
Sprinkle the salt over the dough.
Mix until fully incorporated.
Press and fold the dough several times inside the bowl.
Step 6: Knead the Dough
Transfer the dough onto a lightly floured work surface.
Knead steadily for about ten minutes.
Stretch the dough away.
Fold back toward the center.
Turn slightly.
Repeat many times.
The dough should gradually become smooth, soft, and elastic.
When gently stretched, the dough should form a thin window without tearing.
Step 7: First Rise
Shape the dough into a ball.
Place inside a lightly oiled bowl.
Cover with a towel or lid.
Leave at room temperature until doubled.
Depending upon kitchen temperature, this usually takes ninety minutes to two hours.
Step 8: Stretch and Fold
Remove the dough.
Stretch one side upward.
Fold toward the center.
Repeat from every direction.
This strengthens gluten while creating a beautiful crumb.
Allow the dough to rest twenty minutes.
Repeat another round of folds.
Step 9: Shape the Dough
Turn the dough onto the counter.
Flatten gently.
Fold each edge inward.
Rotate while tightening the surface.
Create a smooth round loaf.
Avoid pressing out every air bubble.
Step 10: Final Proof
Dust the banneton generously with rice flour.
Place the dough seam side upward.
Cover lightly.
Allow another rise until noticeably puffy.
The dough should slowly spring back after a gentle finger press.
Step 11: Prepare the Oven
Preheat the oven to 230 degrees Celsius.
Place the Dutch oven inside during preheating.
Heat for at least thirty minutes.
Proper preheating creates excellent oven spring.
Step 12: Score the Dough
Carefully transfer the dough onto baking paper.
Dust lightly with flour.
Use a sharp blade to create one long slash across the surface.
Additional decorative cuts may also be added.
Step 13: Bake
Lift the dough into the hot Dutch oven.
Cover with the lid.
Bake thirty minutes.
Remove the lid.
Continue baking another fifteen minutes until deeply golden brown.
The crust should become crisp and richly colored.
The loaf should sound hollow when tapped.
Step 14: Cool
Transfer the bread onto a cooling rack.
Allow complete cooling before slicing.
Waiting helps the crumb finish setting and prevents a gummy texture.
Serving Suggestions
Serve warm with butter.
Toast for breakfast.
Spread with fruit preserves.
Prepare grilled cheese sandwiches.
Pair with soups and stews.
Serve alongside pasta.
Use for garlic bread.
Slice for picnic sandwiches.
Enjoy with olive oil and herbs.
Create homemade croutons.
Top with avocado.
Spread with cream cheese.
Serve with roasted vegetables.
Enjoy beside fresh salads.
Storage
Keep inside a bread box for three days.
Wrap tightly for longer freshness.
Freeze sliced portions for up to three months.
Thaw at room temperature.
Refresh inside a hot oven for several minutes before serving.
Helpful Tips
- Use a bubbly, active sourdough starter.
- Measure ingredients accurately.
- Avoid adding too much flour.
- Knead until smooth and elastic.
- Keep dough covered during rising.
- Preheat the baking vessel thoroughly.
- Score with a confident, quick cut.
- Cool completely before slicing.
- Store in breathable wrapping instead of plastic whenever possible.
- Bake until the crust develops a rich golden brown color.
This combination of sourdough starter and commercial yeast produces a dependable loaf with excellent flavor, an airy crumb, a crisp crust, and a shorter fermentation time than traditional sourdough alone.